
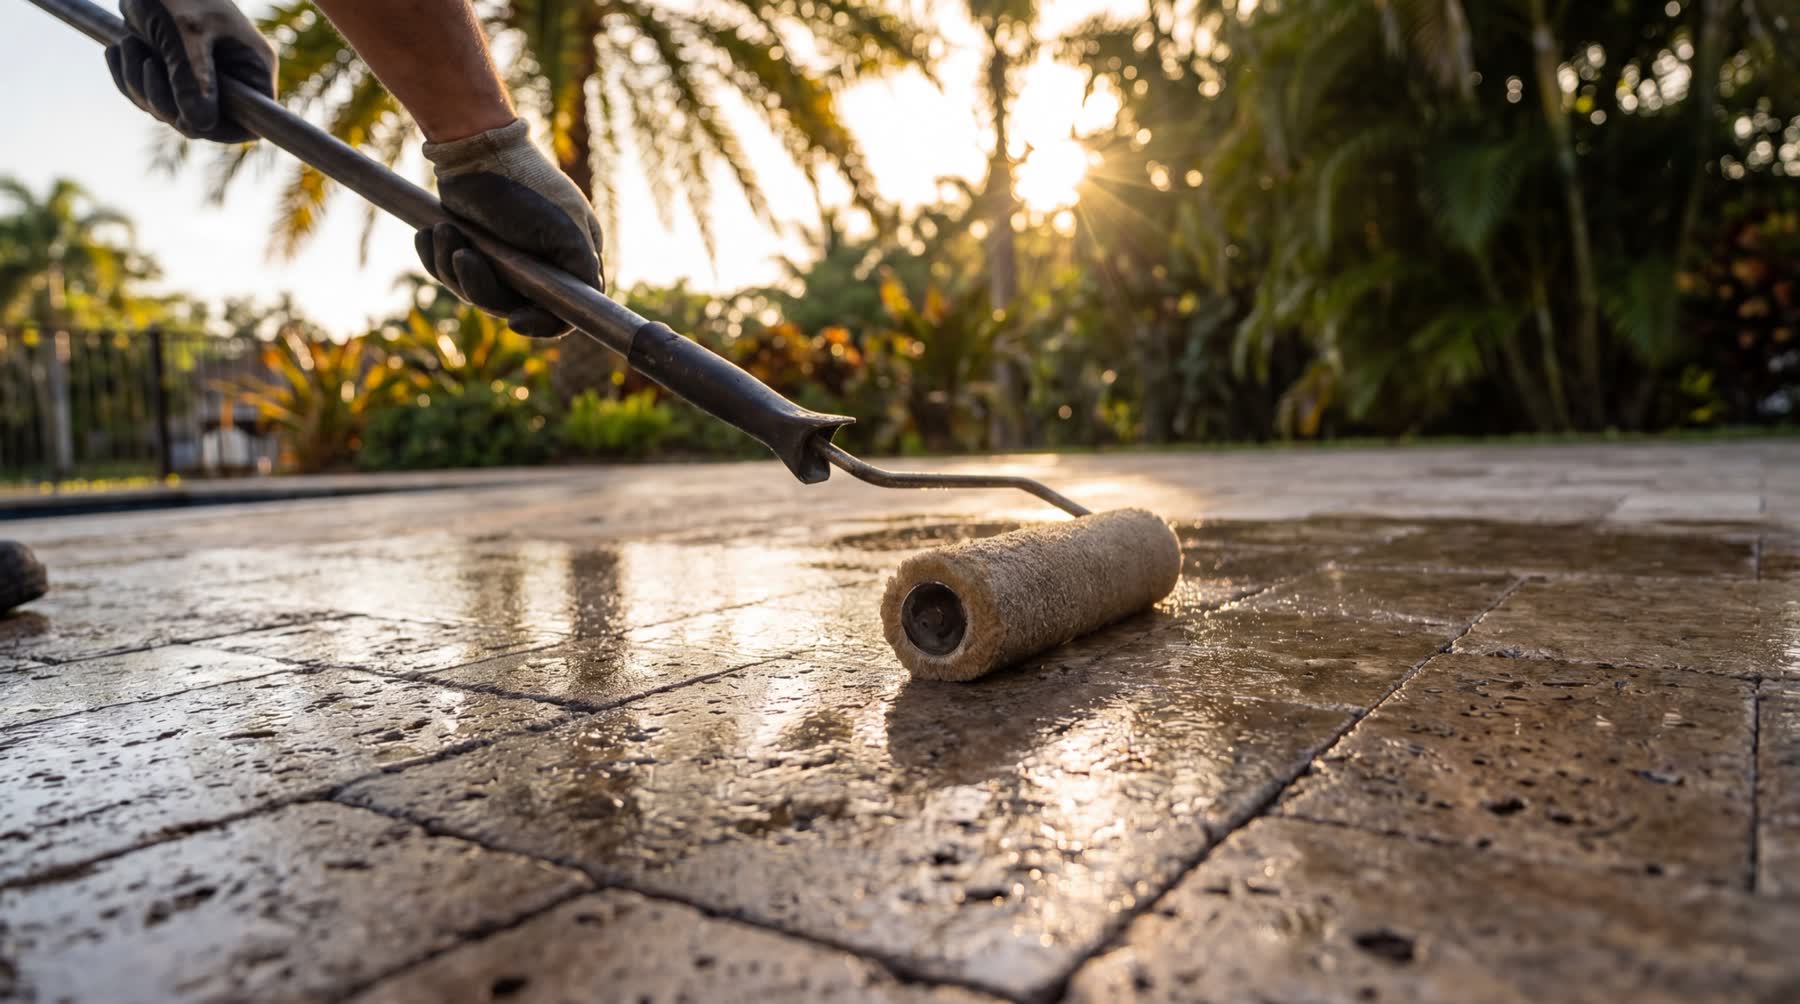
The short answer
The short answer
You can seal your own pavers, and on the right surface you should. Western Interlock — a company that sells sealer — puts the sensible DIY ceiling at areas under about 500 square feet with a standard layout, and estimates ten to eighteen hours of work spread across several days. On a small patio, with a penetrating sealer and a real dry window, that is a reasonable weekend project.
The reason we get called is what happens above that line. Paver sealing is unusual among DIY jobs because the failure mode isn’t “it looks a bit amateur” — it is a coat bonded to the surface wrong, and the only fix is to chemically strip it off and start over. That is where the money goes.
So the real question isn’t “can I do this?” It is “what happens to this surface if the weather turns, or the joint sand was still damp, or the product was wrong for it?” On a back patio the answer is inconvenient. On a driveway or a pool deck it is expensive.
Why a failed DIY seal costs more than the original job
This is the part homeowners find out afterwards. When sealer cures cloudy, tacky or peeling, another coat will not fix it — a second coat over a failed one traps the problem underneath and usually looks worse. The failed layer has to come off first.
Removal is not pressure washing. Alliance Gator is explicit that hot pressure washing only works on uncured water-based sealer; once it has cured, stripping is required. And stripping is a real process: SRW’s stripper covers up to about 200 square feet per gallon with a ten-minute dwell, and its own instructions warn that difficult areas may need a second treatment because sealer can re-adhere if it is not completely removed. Seal ’n Lock’s product needs twenty to thirty minutes on acrylics, and up to twelve hours under plastic sheeting for thick coatings.
It is also work that can damage things around it. Stripper instructions call for saturating nearby vegetation before and after application to protect it, and warn that prolonged contact can etch metal and other surfaces. One honest footnote: the eco-friendly citrus stripper a homeowner is most likely to buy is, by the industry’s own account, generally not effective at removing coatings over large areas.
Then the joints have to be re-sanded, the surface has to dry properly, and only then does it get sealed. So the arithmetic is uncomfortable: you have already bought the sealer that failed, you now buy stripper and spend the hours to use it, the surface needs re-cleaning and re-sanding, and the original job still has to happen. A redo is not the same job twice — it is the whole job plus a removal step that carries its own risk to the pavers. That is the honest basis for the thing every contractor says and every homeowner assumes is a sales line.
When doing it yourself genuinely makes sense
Small area, simple shape — the under-500-square-feet, standard-layout case. A patio you can seal in one continuous pass is far more forgiving than a driveway, because the lap marks that form where two passes meet never get a chance to happen.
A penetrating sealer rather than a film-forming one. This is the counterintuitive part: the penetrating product is harder to rescue if you do ruin it, but much harder to ruin in the first place. It soaks in instead of curing as a surface film, so it doesn’t go cloudy or peel the same way, and Techniseal notes its penetrating product will not trap efflorescence — while acknowledging that its wet-look sealer, like any film-forming coating, carries a small risk of doing exactly that.
A real weather window and the patience to wait for it. Not a forecast that says dry today — several dry days after cleaning so the joint sand is dry all the way down, temperatures between 50°F and 85°F during application and for the 24 hours after, no rain in that window, and the irrigation shut off.
And a homeowner who reads the product’s own instructions rather than a video. Coverage rates, temperature ranges and recoat timing differ between products and are printed on the container. Techniseal even makes a small test patch a condition of its warranty — that is how much the manufacturer expects the surface in front of you to differ from the one in the demonstration.
Buy enough sealer — most people don't
This is the most common quiet mistake, and it is pure arithmetic. Techniseal’s penetrating sealer covers roughly 120 square feet per gallon — and two coats are mandatory, not optional. That means a 500-square-foot patio needs somewhere around eight gallons, not the four a single-coat estimate suggests.
Film-forming products shift too. The same manufacturer’s wet-look sealer covers about 150 square feet per gallon as a sealer, but drops to roughly 50 to 125 square feet per gallon when it is also being used to stabilise joints — because a good deal of it is going down into the sand rather than across the surface.
Running out mid-surface is not a trip to the store. It is a hard stop in the middle of a wet edge, and the line where you restart tends to stay visible. Work out the real number before starting, from the rate for the product you actually bought and the number of coats it actually requires.
Where DIY sealing usually goes wrong
Sealing too soon after cleaning. The paver surface dries first and the joint sand dries last, so a surface can look ready while the sand underneath still holds water. That trapped moisture is the single most common cause of the milky haze that shows up a day or two later.
Sealing over something. Dirt, algae film, efflorescence, rust staining or an old failing coat all mean the new sealer bonds to the debris rather than the paver. It looks fine going down and lets go in patches later.
Too much product. More sealer is not more protection — over-application is what leaves a surface tacky that never fully cures, because the top skins over and what is underneath cannot escape.
Heat and pressure. Above 90°F at the paver surface the bond fails, and a July driveway gets there long before the air does. On the equipment side, manufacturers specify low-pressure application — under 50 psi — and for solvent-based products, a sprayer whose seals can handle the solvent.
And the ones that show up on everything nearby: overspray drifting onto siding, screen enclosures, pool tile and cars, where it cures and has to be removed the hard way.
What the job actually involves when it's done properly
Clean to the surface rather than across it — treating algae and organic growth so it does not keep growing under the sealer, and dealing with rust, oil and efflorescence before anything gets sealed over them.
Let it dry properly. In this climate that is a judgement about humidity, shade and the next few days, not a number of hours copied off a container. Judge it by the joint sand, not the paver faces.
Re-sand and set the joints — and if polymeric sand has just gone in, respect the manufacturer’s 30-day wait before sealing over it.
Match the product to the surface and its exposure, check the surface temperature rather than the air temperature, mask what should not get sealed, and apply at an even rate in manageable sections, keeping a wet edge.
Then keep everything off it while it cures — foot traffic for about a day, vehicles for two to three days, and the irrigation off throughout.
None of that is secret knowledge. It is a longer, fussier list than most people expect, and every item is one where a shortcut shows up permanently in the finish.
How to decide, honestly
Ask what the surface is worth to you and what happens if it goes wrong. A back patio is a low-stakes place to learn. A driveway that is the first thing anyone sees, or a pool deck where a glossier finish also means a more slippery one when wet, is not.
Ask whether you can actually control the conditions — several dry days, irrigation off, no traffic during cure, surface temperature in range, and enough continuous time to finish the whole surface in one go.
And price both paths properly. The DIY path is the cleaner, the joint sand, the right amount of sealer for the real coverage rate, the sprayer or washer rental, your hours, and the honest possibility of a strip-and-redo. Compare that with a written estimate for a finished job, not with the price of a bucket.
If it still looks like a good project, do it — and follow the product’s own instructions to the letter. If it doesn’t, that is exactly what we are here for.
Free estimate
Rather just ask us?
Two minutes on the phone usually settles it — or send a photo of the space.
Related questions
What people ask next.
Is DIY paver sealing actually cheaper?
On a small surface that goes right the first time, often yes. The comparison people get wrong is a bucket versus a finished job — the DIY side also includes cleaner, joint sand, equipment rental, enough sealer for the real coverage rate, and your time. If the coat fails, you pay to strip it off before you pay to do it again.
How much sealer do I need for my pavers?
More than the headline number suggests. A penetrating sealer covering roughly 120 square feet per gallon requires two mandatory coats, so a 500-square-foot patio needs around eight gallons rather than four. Wet-look products also cover far less per gallon when they are stabilising joint sand at the same time.
Why did my sealer dry cloudy or milky?
Almost always trapped moisture. The paver surface dries long before the joint sand underneath does, so a surface that looked ready still held water and the sealer cured over it. Rain or sprinklers landing on an uncured coat cause the same thing.
Can I just put another coat over a sealing job that went wrong?
No — that traps the problem under a new layer and usually looks worse. A failed coat has to be chemically stripped, the surface re-cleaned and re-sanded, and then sealed properly. That sequence is why a botched DIY job ends up costing more than hiring it out.
What temperature is too hot to seal pavers?
Watch the surface, not the air. Above about 90°F at the paver surface — during application or within roughly two hours after — the bond fails, and a Florida driveway in full sun reaches that long before air temperature does. Manufacturers specify application between 50°F and 85°F, including the 24 hours afterwards.
Does sealing make pool deck pavers slippery?
It can. Wet-look and gloss sealers add sheen and can read more slippery when wet, which matters most around a pool. Penetrating products change the look far less and are the usual choice where grip matters — the finish should be picked for where the surface is, not only for how it looks.
Keep reading
Where to go from here.
Fastest answer
Instant quote — give us a call.
Most questions we can answer on the phone in two minutes, and if we need to see it we'll book the walkthrough while you're on the line.
(321) 586-9227Or text a photo of the space — that's often the fastest way to get a real answer. Prefer email? info@groundworkspaversandturf.com.
Free estimate
Get a written number instead.
Free walkthrough, itemized estimate, no pressure.
Five quick questions — then you're booked in and someone reaches out within 5 minutes. Prefer to talk? Call (321) 586-9227.